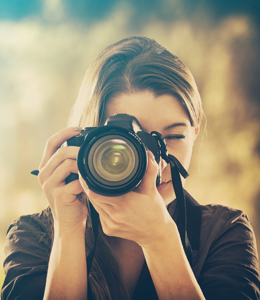
Professional Photography Tips for Beginners
Photography is more than just taking pictures; it is an art form that allows you to tell compelling stories, capture raw emotions, and preserve unforgettable memories. Whether you’re aspiring to become a professional photographer or simply looking to elevate your photography skills, understanding the fundamentals is crucial. This comprehensive guide will walk you through essential professional photography tips, helping you refine your technique, develop your style, and create breathtaking images that leave a lasting impact.
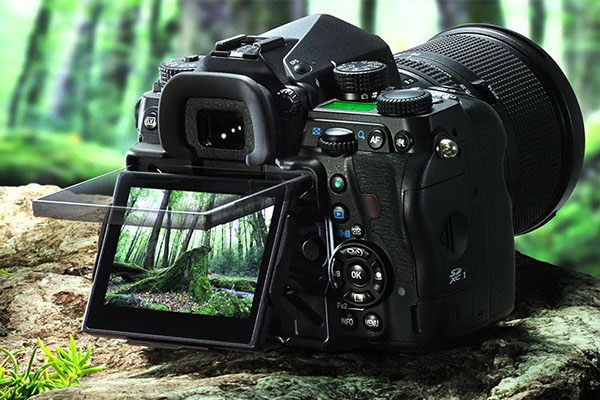
1. Understand Your Camera
Before diving into photography, familiarize yourself with your camera’s settings and functions. Understanding how different components work will help you take full control over your shots.
- Manual Mode: Mastering manual mode allows you to control every aspect of your exposure, including shutter speed, aperture, and ISO, giving you the creative freedom to achieve the perfect shot in any lighting condition.
- Aperture, Shutter Speed, ISO: These three elements make up the exposure triangle, which controls how light is captured by your camera. Aperture affects depth of field, shutter speed determines motion blur or sharpness, and ISO influences brightness and noise levels. Mastering their balance allows you to achieve the perfect exposure in any situation.
- White Balance: Adjust white balance settings based on lighting conditions to ensure true-to-life color accuracy and avoid unwanted color casts in your images.
- RAW Format: Shooting in RAW captures uncompressed image data, providing greater flexibility in post-processing, allowing you to recover details, adjust exposure, and enhance colors without loss of quality.

2. Take Your Time
If you’re not careful, it’s easy to make mistakes when taking pictures. Slowing down and taking your time whenever you can is the best way to get around this, especially if you’re just starting out with photography. Check your camera settings again first. Something is seriously amiss if you’re taking pictures of the Milky Way using the same settings from last night while you’re taking portraits outside in the sunshine. Take your time and go slowly to get it right.
Then, apply the same attitude to all other significant choices. Do you have the best possible composition?
Did you set your autofocus correctly? Have you taken all the necessary steps to enhance the lighting? Additionally, don’t pay attention to those who advise against looking at photos in the field. You will almost always have some downtime in between shots, but it is not a good idea to review photos while something spectacular is happening in front of you. Instead of at your computer, identify the issues with an image in the field.
3. Keep Portrait backgrounds simple
The eyes should be the main focus of stunning portrait photography, not the background. To keep the focus where it should be, keep your portrait background as simple as possible, but don’t limit yourself to just using white screens.

4. Master Composition Techniques
Composition is key to creating visually appealing images. Follow these guidelines to enhance your photos:
- Rule of Thirds: Divide your frame into nine equal sections and place key elements along these lines.
- Leading Lines: Use roads, bridges, and patterns to draw the viewer’s eye into the frame.
- Framing: Incorporate natural frames like archways or windows to add depth.
- Negative Space: Leaving empty space around your subject can make it stand out.
- Symmetry & Balance: Use symmetry or asymmetry to create compelling compositions.
5. Learn to Use Natural and Artificial Light
Lighting plays a crucial role in photography. Understanding how to manipulate light can make a significant difference in your images.
- Golden Hour: Shoot during sunrise or sunset for soft, warm lighting.
- Blue Hour: The period after sunset provides cool, dreamy tones.
- Avoid Harsh Midday Light: Diffuse harsh sunlight by finding shade or using a reflector.
- Artificial Light: Experiment with flash, LED panels, and studio lights to control exposure.
6. Invest in the Right Equipment
While photography is more about skill than gear, having the right tools can improve your results.
- Camera: A DSLR or mirrorless camera offers versatility and quality.
- Lenses: Invest in a prime lens (50mm) for portraits and a zoom lens for versatility.
- Tripod: Essential for stability in low-light and long-exposure photography.
- Filters: Use polarizing and ND filters to enhance landscape shots.
- External Flash: Helps in low-light conditions and prevents harsh shadows.

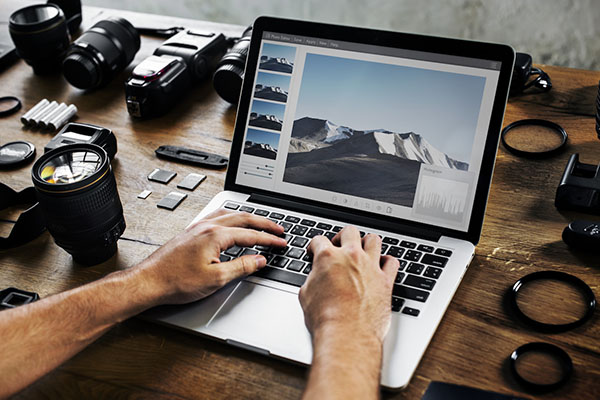
7. Post-Processing and Editing
Editing can enhance your photos and correct minor issues. Learn how to edit professionally using software like Adobe Lightroom and Photoshop.
- Color Correction: Adjust white balance, saturation, and contrast.
- Cropping & Straightening: Improve composition by eliminating distractions.
- Sharpening & Noise Reduction: Enhance details while minimizing noise.
- Retouching: Remove blemishes and unwanted elements for a cleaner look.
8. Develop Your Unique Style
As you progress in photography, strive to develop a signature style that sets your work apart.
- Experiment with Different Genres: Try portrait, landscape, street, and macro photography.
- Find Inspiration: Follow professional photographers and analyze their work.
- Stay Consistent: Establish a cohesive editing style and color palette.
- Tell a Story: Go beyond aesthetics and aim to evoke emotions through your images.
9. Practice, Practice, Practice
Photography is a skill that improves with practice. Here are some tips to stay motivated and keep learning:
- Shoot Regularly: Challenge yourself to take photos daily.
- Take Online Courses: Platforms like Udemy and Skillshare offer great resources.
- Join Photography Communities: Engage with other photographers for feedback and inspiration.
- Analyze Your Work: Review your photos and identify areas for improvement.
10. Work on Your Portfolio
If you’re serious about pursuing photography professionally, building a strong portfolio is crucial.
- Select Your Best Work: Showcase a diverse range of high-quality images.
- Create an Online Portfolio: Use platforms like Adobe Portfolio, Squarespace, or Instagram.
- Network with Clients: Connect with potential clients through social media and events.
- Offer Free Shoots: Gain experience by shooting for friends, family, or small businesses.
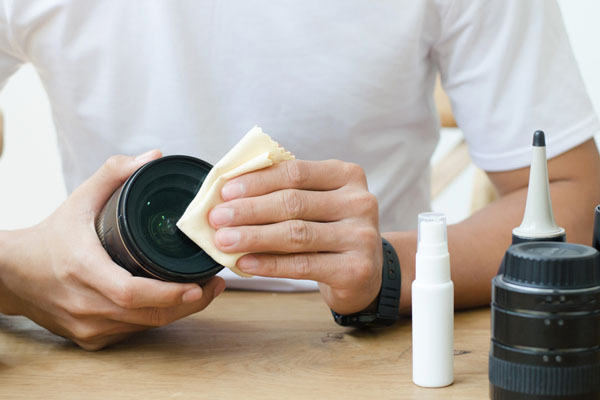
10. Clean your Camera Lens
I’ve witnessed far too many people moving around with their camera’s front element smudged, dusty, and dirty. That’s the simplest method to always get blurry pictures.
Naturally, a small amount of dust won’t hurt anything and won’t even show up in a picture. Every lens contains tiny dust particles that cannot be cleaned without disassembling the lens and have no effect whatsoever on a picture.
Rather, I am referring to lenses that have never been cleaned, containing dirt and fingerprints that have been there for a very long time. Get a lens cleaning solution and a microfiber cloth as a favor to yourself. Use them at least once a week and take them on vacation.
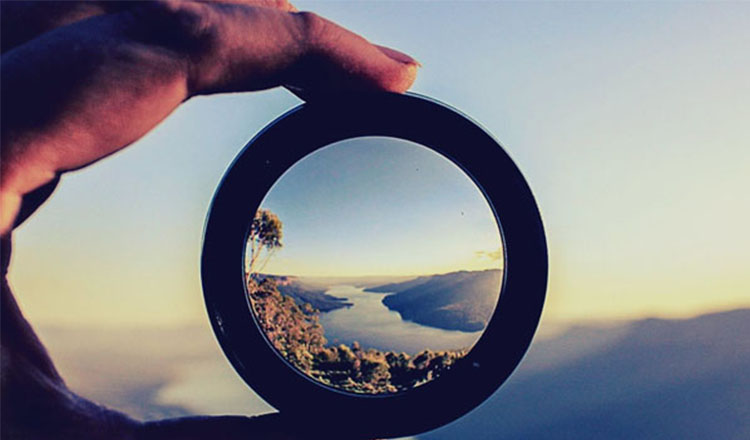
11. Don’t Use a Cheap Filter
Using a cheap filter on the front of your lens is the second simplest way to get blurry pictures 100% of the time.
My grandfather gave me an old, clear filter from his film camera when I first started taking pictures. I was so astonished that it fit my lens so well that I never worried about whether the glass met modern standards and kept it on my lens constantly. As it happens, it wasn’t. All of my pictures had fuzzy corners, and any faintly bright spot—like the night sky or a lamp—became a wicked flare. Here’s a picture I cropped after using this filter:
However, the blurriness is obvious when you only see a minimal crop: Don’t make the same mistake I did! Yes, this was an outdated filter, but modern, low-cost ones accomplish the same goal. Except in situations where I also need protective eyewear, I personally never put a clear, protective filter on my lens anymore. If you must use a filter, choose a high-quality one from a reputable brand, such as B+W, rather than the one that is the cheapest item on Amazon’s price range.
Conclusion
Becoming a professional photographer requires dedication, patience, and creativity. By mastering camera techniques, understanding composition, and refining your editing skills, you can elevate your photography to a professional level. Keep practicing, stay inspired, and never stop learning!