Wedding Photography Tips for Beginners
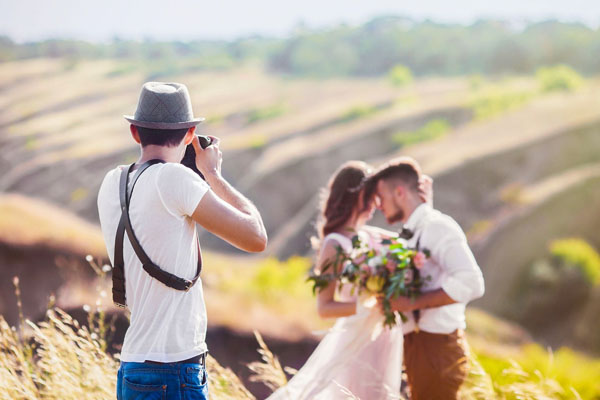
One of the most fulfilling and difficult types of photography is wedding photography. It takes talent, planning, and an artistic eye to capture the happiness, feelings, and specifics of a couple’s special day. This thorough guide will help you get started if you’re new to wedding photography and make sure you’re prepared to capture these unique moments in a flawless manner.
Establish a Workflow
Photographing events is only one aspect of being a wedding photographer. Managing reservations, corresponding with customers, processing photos, and delivering finished goods will take up a large portion of your time. Finding methods to streamline your workflow for efficiency is crucial if you’re managing all of these responsibilities by yourself.
Use a Studio Management Software
Effective contract management and client communication are essential to your company, as was mentioned in the previous points. Automating messages with studio management software, such as Take’s, can help make sure that your clients receive contracts, questionnaires, and responses on time. These tools, which include dashboards that let you make a timeline for wedding photography, can also help you organize your workflow. Setting due dates for every task helps you prioritize, which is essential in the hectic field of wedding photography.
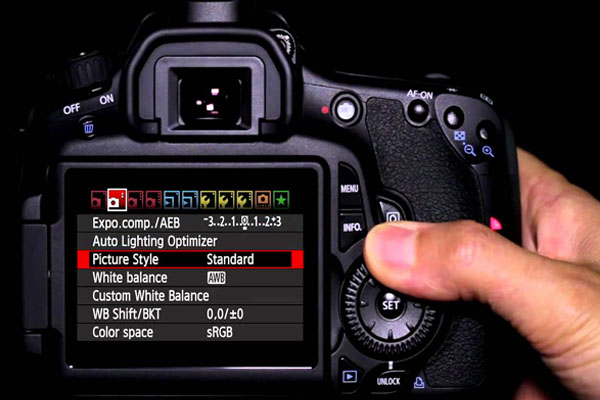
Camera Settings
Recognize that their focus will be wedding photography. The following are the settings that we like (since we use Canon, the terms may be slightly different for your camera):
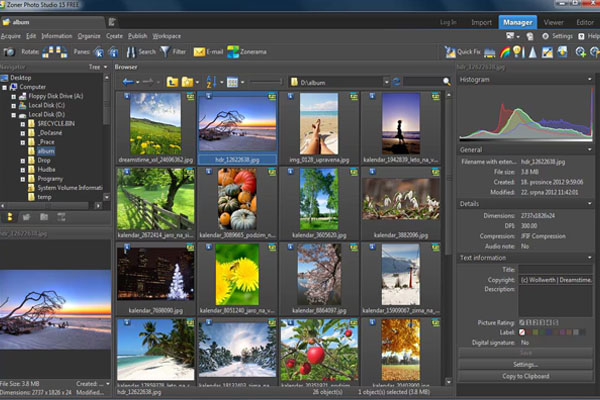
Date/Time: I make sure that our cameras are set to the precise moment, down to the second, because my wife and I both photograph weddings. This accuracy is very useful because it arranges the photos in chronological order when we upload them for editing. Having the photos in order saves a lot of time, especially when sharing them online or creating the final wedding album, as most photo editing software does not offer an easy way to rearrange them.
Auto Focus Area: A lot of cameras have sophisticated systems that choose the ideal focal point for a picture automatically. Our Canon 7D models have 19 auto-focus points that the camera can select on its own. However, in order to get the desired shot at weddings, we frequently have to move between close objects, which can cause the camera to focus on the wrong subject by accident. This problem may become even more complicated in low light. Our cameras are set to single point auto-focus, which uses the center point for focusing, so that we don’t miss any important moments. We maintain a consistent and effective approach to photography by half-pressing the shutter button to focus before composing the shot. This lets us focus exactly where it’s needed without being distracted by shifting focal points in the image.
AF Servo Mode: This setting allows the camera to either adjust focus when it detects movement in the subject or maintain a constant focus when you press the shutter button halfway. This feature is very helpful because during events, subjects frequently move closer or farther away, which is why we choose AI Focus mode (Canon). The camera will continue to focus on stationary objects in this mode and will notify you when focus is locked. It smoothly transitions to AI Servo mode, though, if the subject begins to move. This mode keeps the moving object in focus until you take a picture.
Drive modes: Depending on the camera’s capabilities, many offer a variety of shooting speed options, ranging from single shot mode, which records one frame with each shutter button press, to high-speed continuous mode, which can record four to eight frames per second. We like to use the low-speed continuous mode for weddings. By doing this, we can quickly take a number of pictures while minimizing noise and preventing our memory cards from becoming overloaded, which could result in longer post-production times.
Metering Mode: It’s crucial to tell the camera to focus on the center of the image for exposure settings when we have our focus set to a single point. By choosing the center-weighted average metering mode, this is accomplished. By doing this, the camera determines exposure by giving the center of the frame more weight than the edges. Since we mostly use our flashes for portrait photography, we also set them up to meter from the center. When the flash is mounted, this can typically be controlled directly on the camera or via the flash itself. It’s crucial to tell the camera to focus on the center of the image for exposure settings when we have our focus set to a single point. By choosing the center-weighted average metering mode, this is accomplished. By doing this, the camera determines exposure by giving the center of the frame more weight than the edges. Since we mostly use our flashes for portrait photography, we also set them up to meter from the center. When the flash is mounted, this can typically be controlled directly on the camera or via the flash itself.
Rear curtain sync: This option tells the flash to turn on at the end of the exposure instead of the beginning. By making sure that any motion blur appears behind the subject rather than in front, this adjustment improves low-light photography, such as during dance scenes, and produces a more realistic appearance. Either the flash unit itself or the camera with the flash attached can be used to modify this feature.
Highlight Warning: Overexposed portions of an image are highlighted on the LCD screen by a feature that many cameras have. This is crucial, particularly when taking pictures of significant events like a bride’s gown, since you want to capture all the fine details. For this reason, we always have this setting enabled. It’s obvious that we should lower our exposure or use the flash exposure compensation option if we take a picture and notice that some areas of the image are flashing on the screen.
White Balance: We choose not to change this setting. Since photo-journalistic photographers are always on the go and take a lot of pictures, it is not feasible to constantly adjust the white balance. We find it easier to adjust the white balance in post-production because the lighting can change even during a ceremony as the couple moves. We obtain a consistent and accurate white balance for every picture by referencing the bride’s dress.
Always begin by helping a professional
Making contact with an experienced wedding photographer is a great idea before embarking on your own wedding photography career. You might be able to follow them around at a couple weddings, or you could just ask them for tips and advice on how to improve your wedding photography. Use websites like Wedding Wire to find photographers, or visit Yelp or The Knot to read reviews. If your newlywed friends have beautiful wedding pictures to share, you can also ask them about their photographers.
The Reception
We’ll put our cameras in shutter speed mode so we can take quick, unscripted pictures without adjusting the settings, which will help us effectively capture impromptu moments. Our preferred setting if the reception is outside is aperture priority mode because of the abundance of natural light, which allows us to adjust the depth of field. We’ll also use aperture mode for the bride and groom’s outdoor portraits, making sure the flash is turned on for fill light if needed.
To get a smooth blend, we might reduce the flash exposure to -1 or less, which we constantly verify on the LCD screen. If we want to highlight our subjects, we can increase the aperture to create a softer background, but if we want to include more background detail, we’ll aim for F4.0 or lower.
Having a flash bracket is very helpful during the cake cutting and toasts, especially since the couple frequently stands near walls. For these portraits, it’s important to keep the flash above the camera. In order to minimize shadows, it is recommended to take pictures in landscape orientation and then convert them to portrait format in the editing process if a flash bracket is not available. We’ll keep using flash and diffusers as the dance starts, bouncing light off the ceiling wherever we can. We can take out the diffusers if more light is required. In order to capture more ambient light, we’ll also reduce our shutter speeds to 1/10 sec or less. This is because the flash will freeze our subjects’ motion, preventing excessive blur while maintaining a clear and detailed background. The reception is a great chance to experiment with different camera settings and come up with fresh, imaginative ideas. We frequently prop ourselves up on chairs to get a new angle, or if our camera is in live mode, we can use the LCD monitor on the back to frame our shots from above the action to get the ideal composition.
Arrive early and look around for the best source of light.
Arriving at the location early is one of the best tips for inexperienced wedding photographers. Arriving early gives you the chance to explore possible shooting locations, evaluate the lighting, and set up your equipment without feeling rushed. Arriving 30 to 60 minutes early will help you avoid the stress of rushing to catch all the important moments. Additionally, it gives you an opportunity to get to know the wedding coordinators and other suppliers that you will be working with during the event. Assessing the lighting options that are available for you to utilize during the day is an important first step once you arrive at the location.
Natural Light
Make the most of natural light to give your subjects a soft, warm, and gentle appearance. Many reception areas and wedding venues are blessed with abundant window light, so pay attention to the placement of these windows.
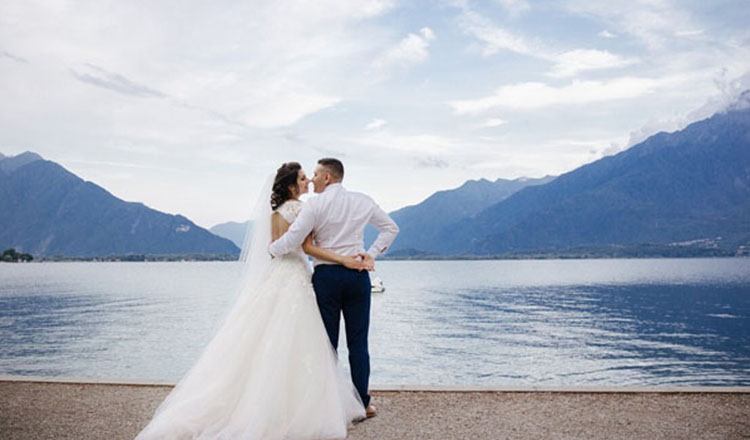
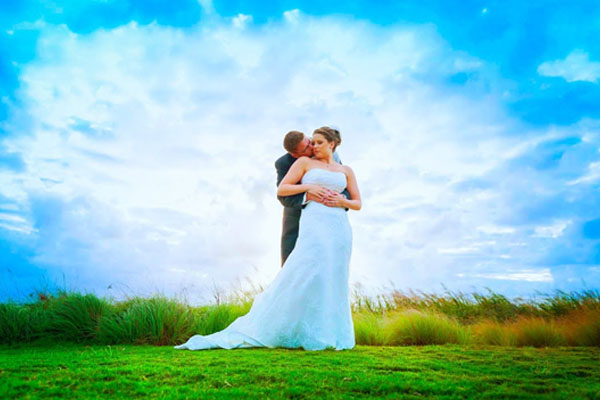
Golden Hour
The golden hour presents a breathtaking chance to take affecting and engrossing couple portraits. The soft, flattering light that results from the sun being low on the horizon enhances the beauty of your subjects.
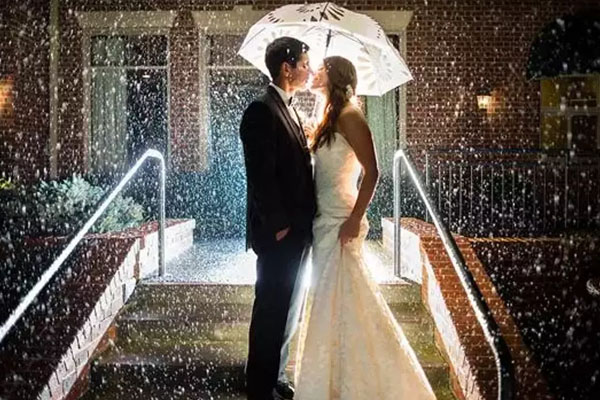
On-Camera Flash
When there is less than optimal light available, using a flash can give your photos depth and interest. Be sure to familiarize yourself with the venue’s specific flash policies before using the flash to soften harsh shadows and brighten the couple.
Reflectors
A portable, useful tool for efficiently manipulating and directing light is a reflector. You can use a reflector in front of the couple to bounce light back if the sun is behind them, producing strong backlighting. This will give the couple and their surroundings a more balanced exposure.
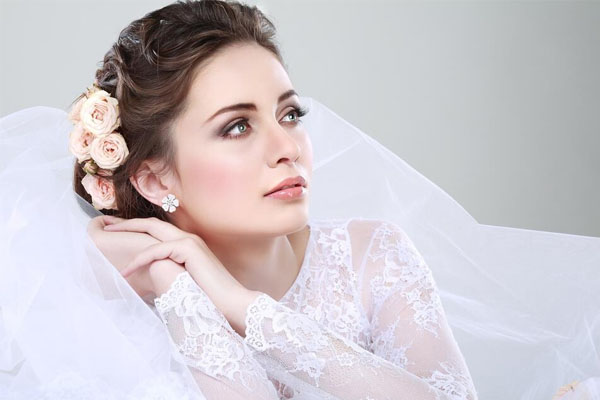
Detail Shots
The couple, their family, and the wedding party are probably just starting their hair and makeup routines when you arrive during the preparation stage. There is a great chance to get some lovely detail shots of the bouquets, corsages, and other floral arrangements, as well as close-ups of the rings, the cord, and the veil. Remember to take pictures of the shoes, hanging dresses and suits, invitations, and accessories like cuff-links, jewelry, and perfume. These items may have special meanings; for example, the groom may be wearing a tie that has been handed down through the generations, or the bride’s bouquet may have been made by her grandparents. The couple’s invitations, which they designed themselves, might even hold a special meaning for them.
Despite their apparent simplicity, these objects frequently have deep sentimental significance and are treasured mementos of the unique elements of the wedding. You never know what feelings you might get when you look back at these photos, so make sure to include them in your shot list.
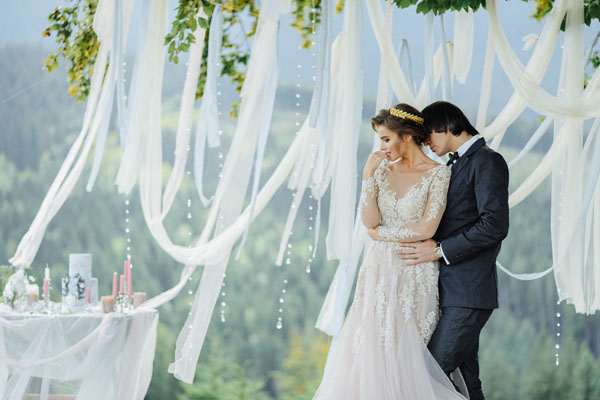
Bridal Coverage
The bride’s preparations for the wedding day are highlighted in the bridal coverage. Spending time with her special friends is also important. Set aside a minimum of one hour to record the following:
- Hair and makeup services for the bride, maid of honor, and bridesmaids
- Assistance from parents with the bride’s accessories
- Group photos with the family;
- Creative shots of the bride next to a large window, in the stairway, or in other gorgeous locations at the venue; • Boudoir shoot if the client requests it;
- Bridesmaids and the maid of honor having fun with the bride;
Ceremony
Remember that you have no control over what occurs at the ceremony. It is your responsibility to pay close attention and do your best to capture what transpires. Prepare yourself with the appropriate tools and knowledge because the ceremony is the most difficult and important aspect of the day.
Obtain a copy of the schedule for the ceremony.
First things first: ask the coordinators or clients for a copy of the program. There may be elements of the ceremony that you are unfamiliar with, even though weddings in all religions may share similarities. Therefore, you require the event’s actual timeline.
It is your responsibility as a wedding ceremony photographer to be aware of how the ceremony will proceed so that you can position yourself appropriately at the appropriate moment. If you know when certain moments will occur, such as the processional, the exchanging of rings and vows, or the first kiss, you’re less likely to miss them.
Make Wedding Customs Clear
You will come across numerous religious and cultural customs while working as a photographer. You must be aware of what to anticipate, particularly if there are regulations that you must also abide by. You might need to modify your coverage to comply with different regulations based on local or religious customs.
For instance, a Hindu wedding might take place over several days. In the meantime, the Liturgy of the Eucharist, also known as Communion, is a part of Catholic weddings. You must be aware of important details in advance so that you will know how to act and shoot because, as you can imagine, a lot depends on the faith tradition.
The Essential Shots
The wedding will probably have a general format, regardless of whether it is civil or religious. It’s crucial that you record every significant element:
- The wedding party’s procession down the aisle; • The groom’s response upon the bride’s arrival
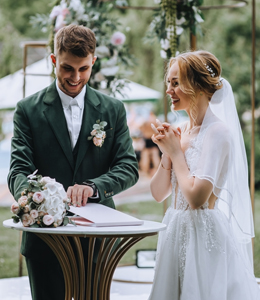
The officiant’s opening remarks and address to the couple; the exchange of rings and vows; the announcement of marriage; the bride walking down the aisle; the front and center angles of the first kiss (you must not miss this!) - The signing of the ketubah or other marriage contract;
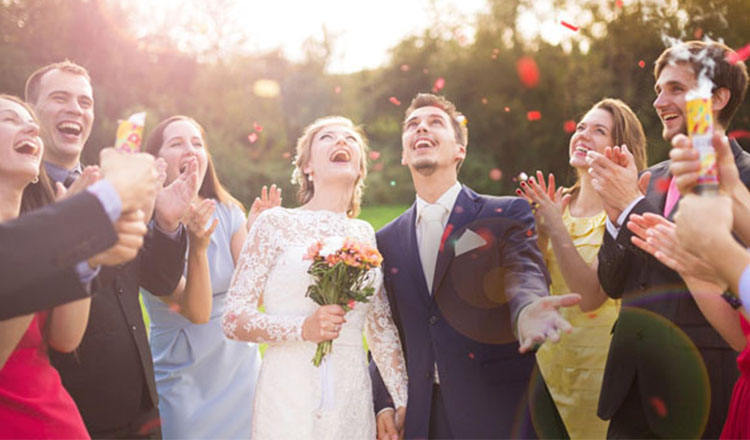
- The recessional or confetti-filled exit;
- Reaction photos of the family, friends, and guests
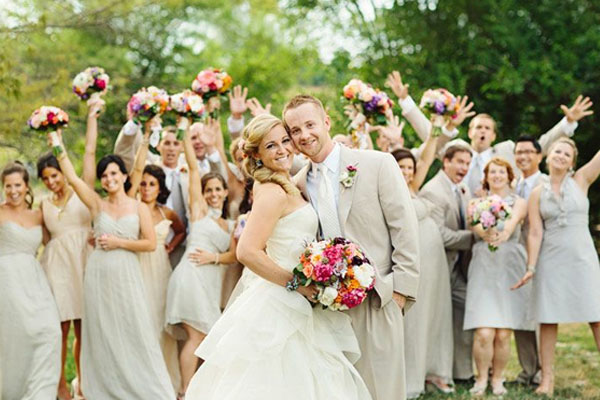
Group and Family Shots
Depending on the client’s preferences or the church’s rules, group photos may be required. The couple might just want to go to their cocktail party at this point! Therefore, it is your responsibility to lead and maintain momentum.
Collaborate with event planners to inform attendees that formal group photos will be taken in order to expedite the process. Here are some common group photos to take in addition to the official bride and groom’s pictures:
- The officiant with the bride and groom
- The bride and groom with every parent pair
- The bride and groom’s immediate families
- The couple’s extended family, including grandparents, aunts, uncles, cousins, nieces, and nephews
A combination of technical proficiency, artistic vision, and professionalism are needed for wedding photography. Learning these methods as a novice will boost your self-esteem and enable you to produce breathtaking wedding photos. Continue honing your skills, remain flexible, and most of all, have fun documenting the happiness and love of weddings!